
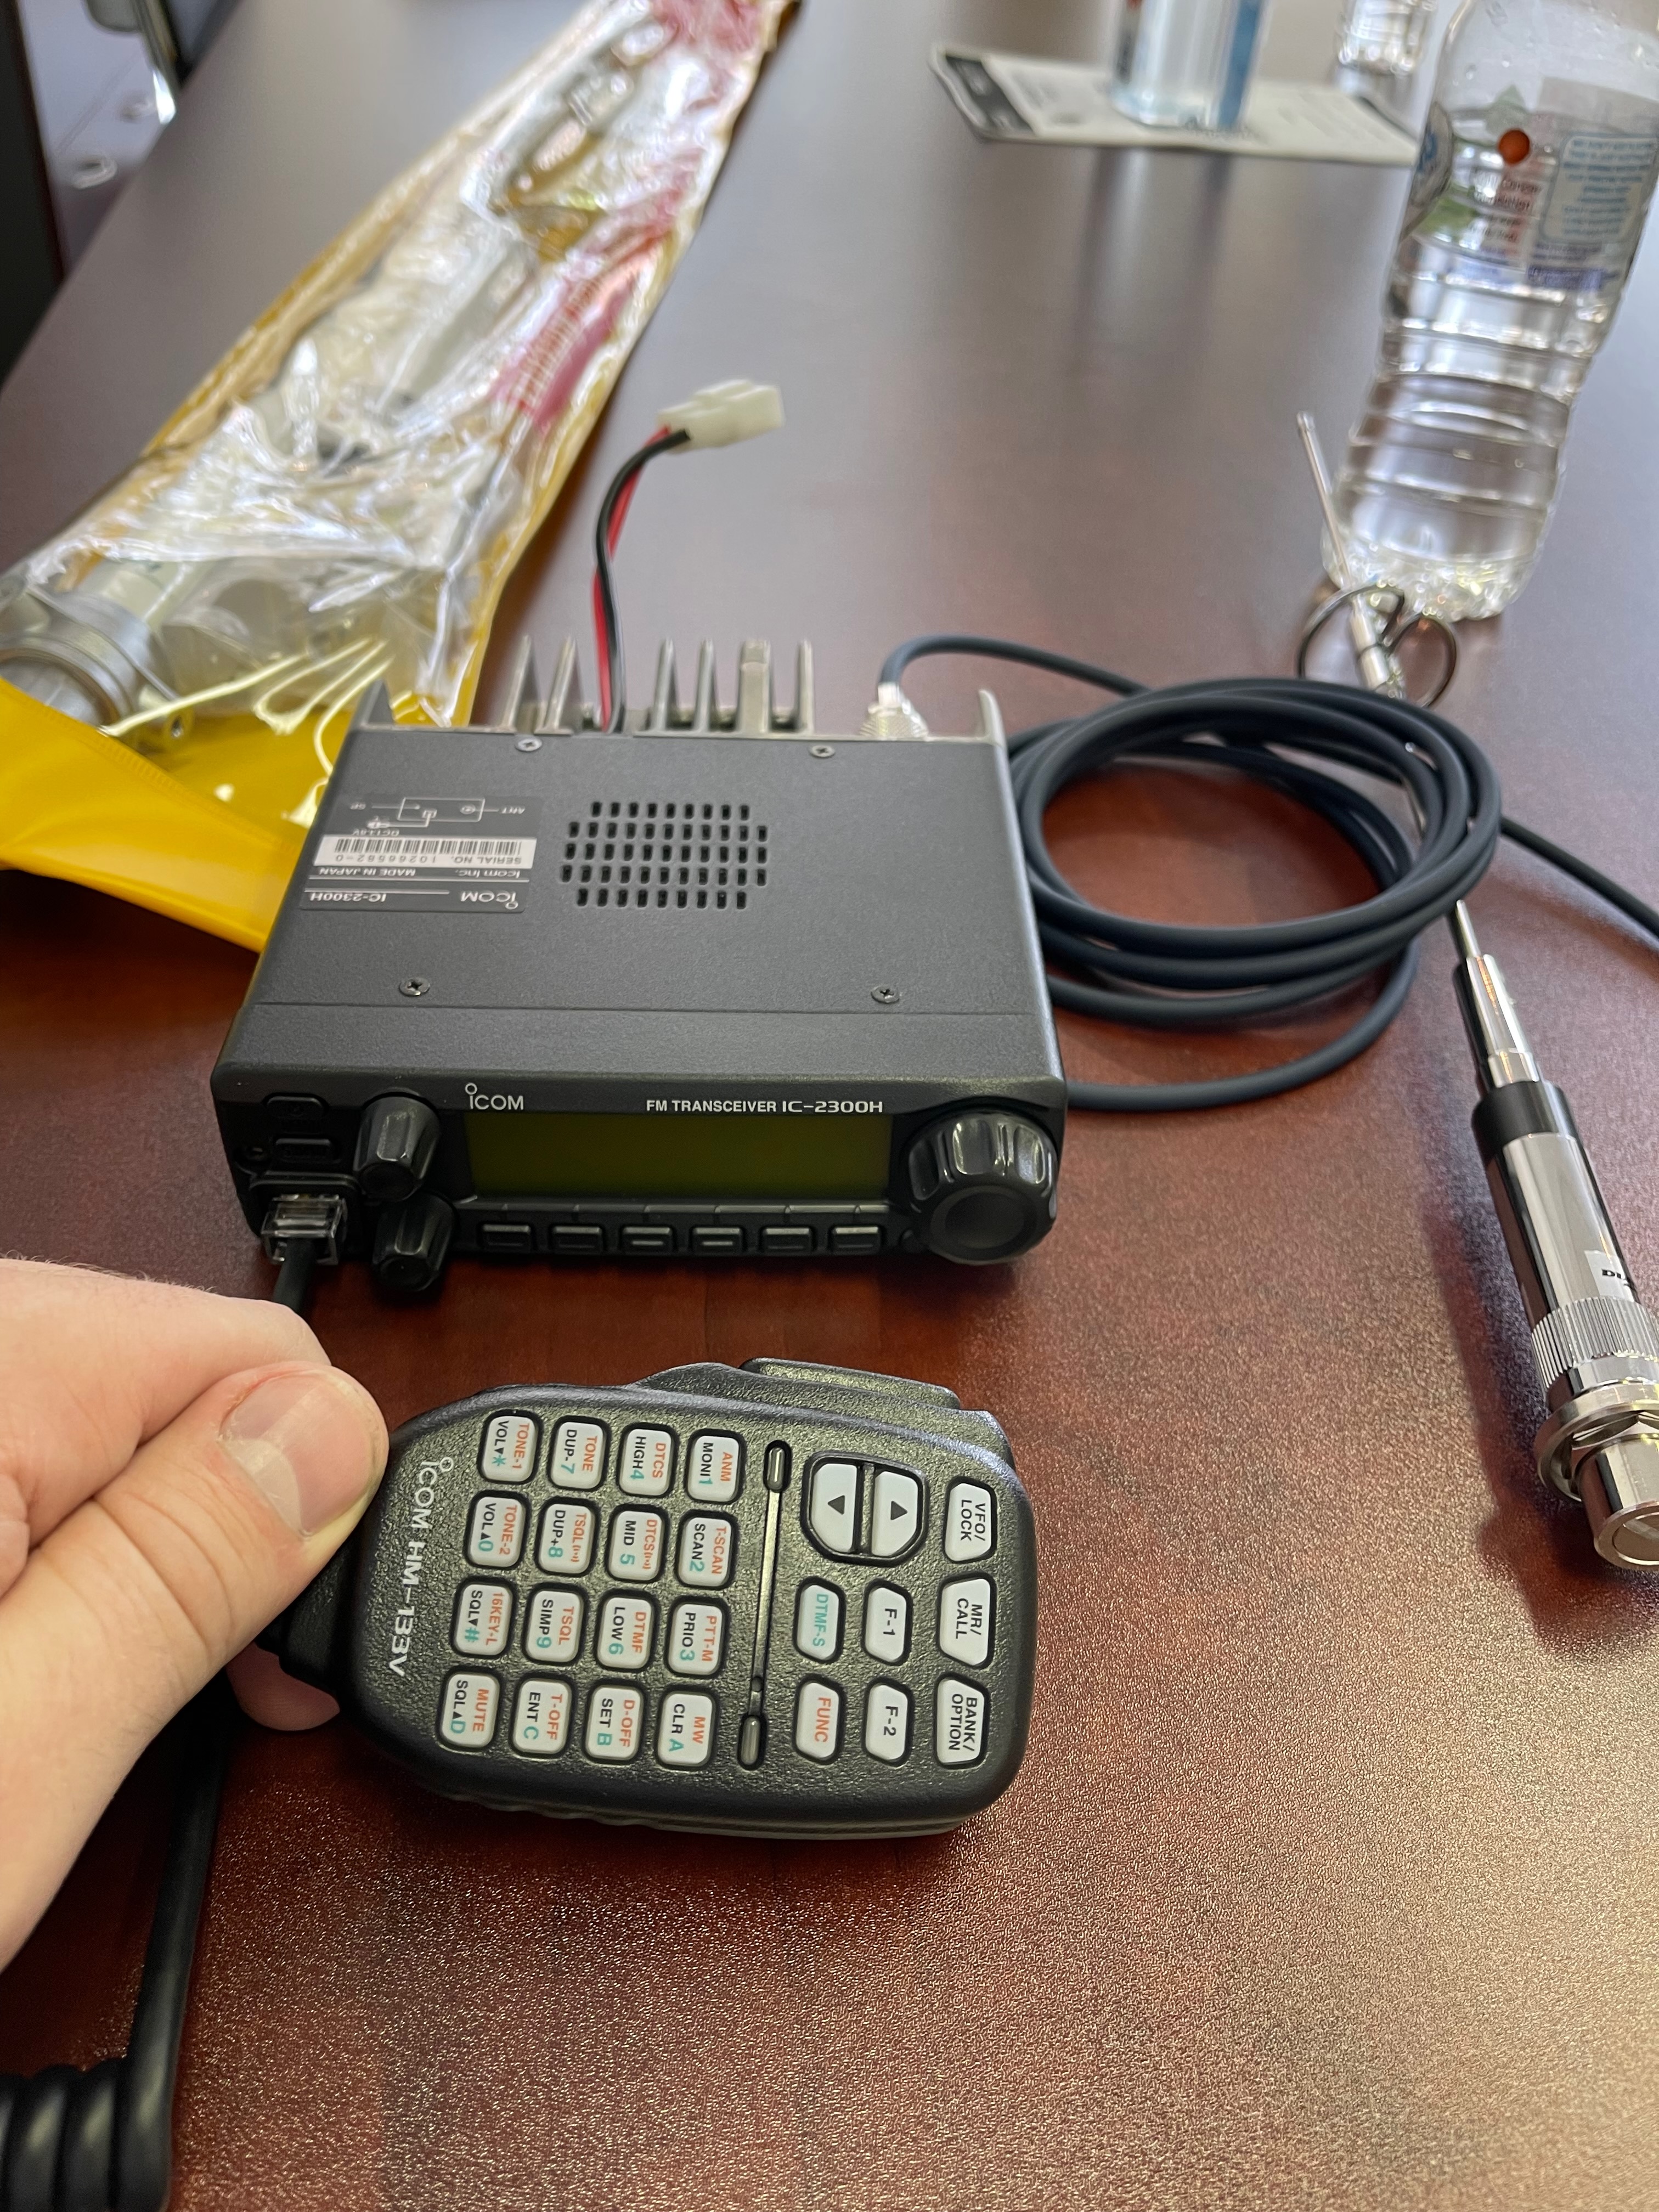
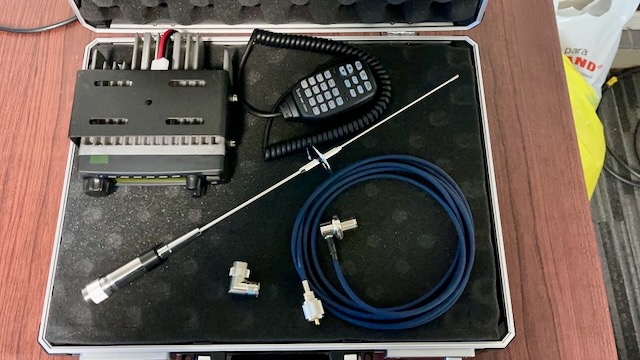
New Radio
So, I was originally planning to get the Yaesu FT-2900R, but they didn’t have stock :(. Instead, they had the similar ICOM 2300H. This has been delivered, aerial has been installed, and communications have been heard! Below is that journey.
Mobile Antenna
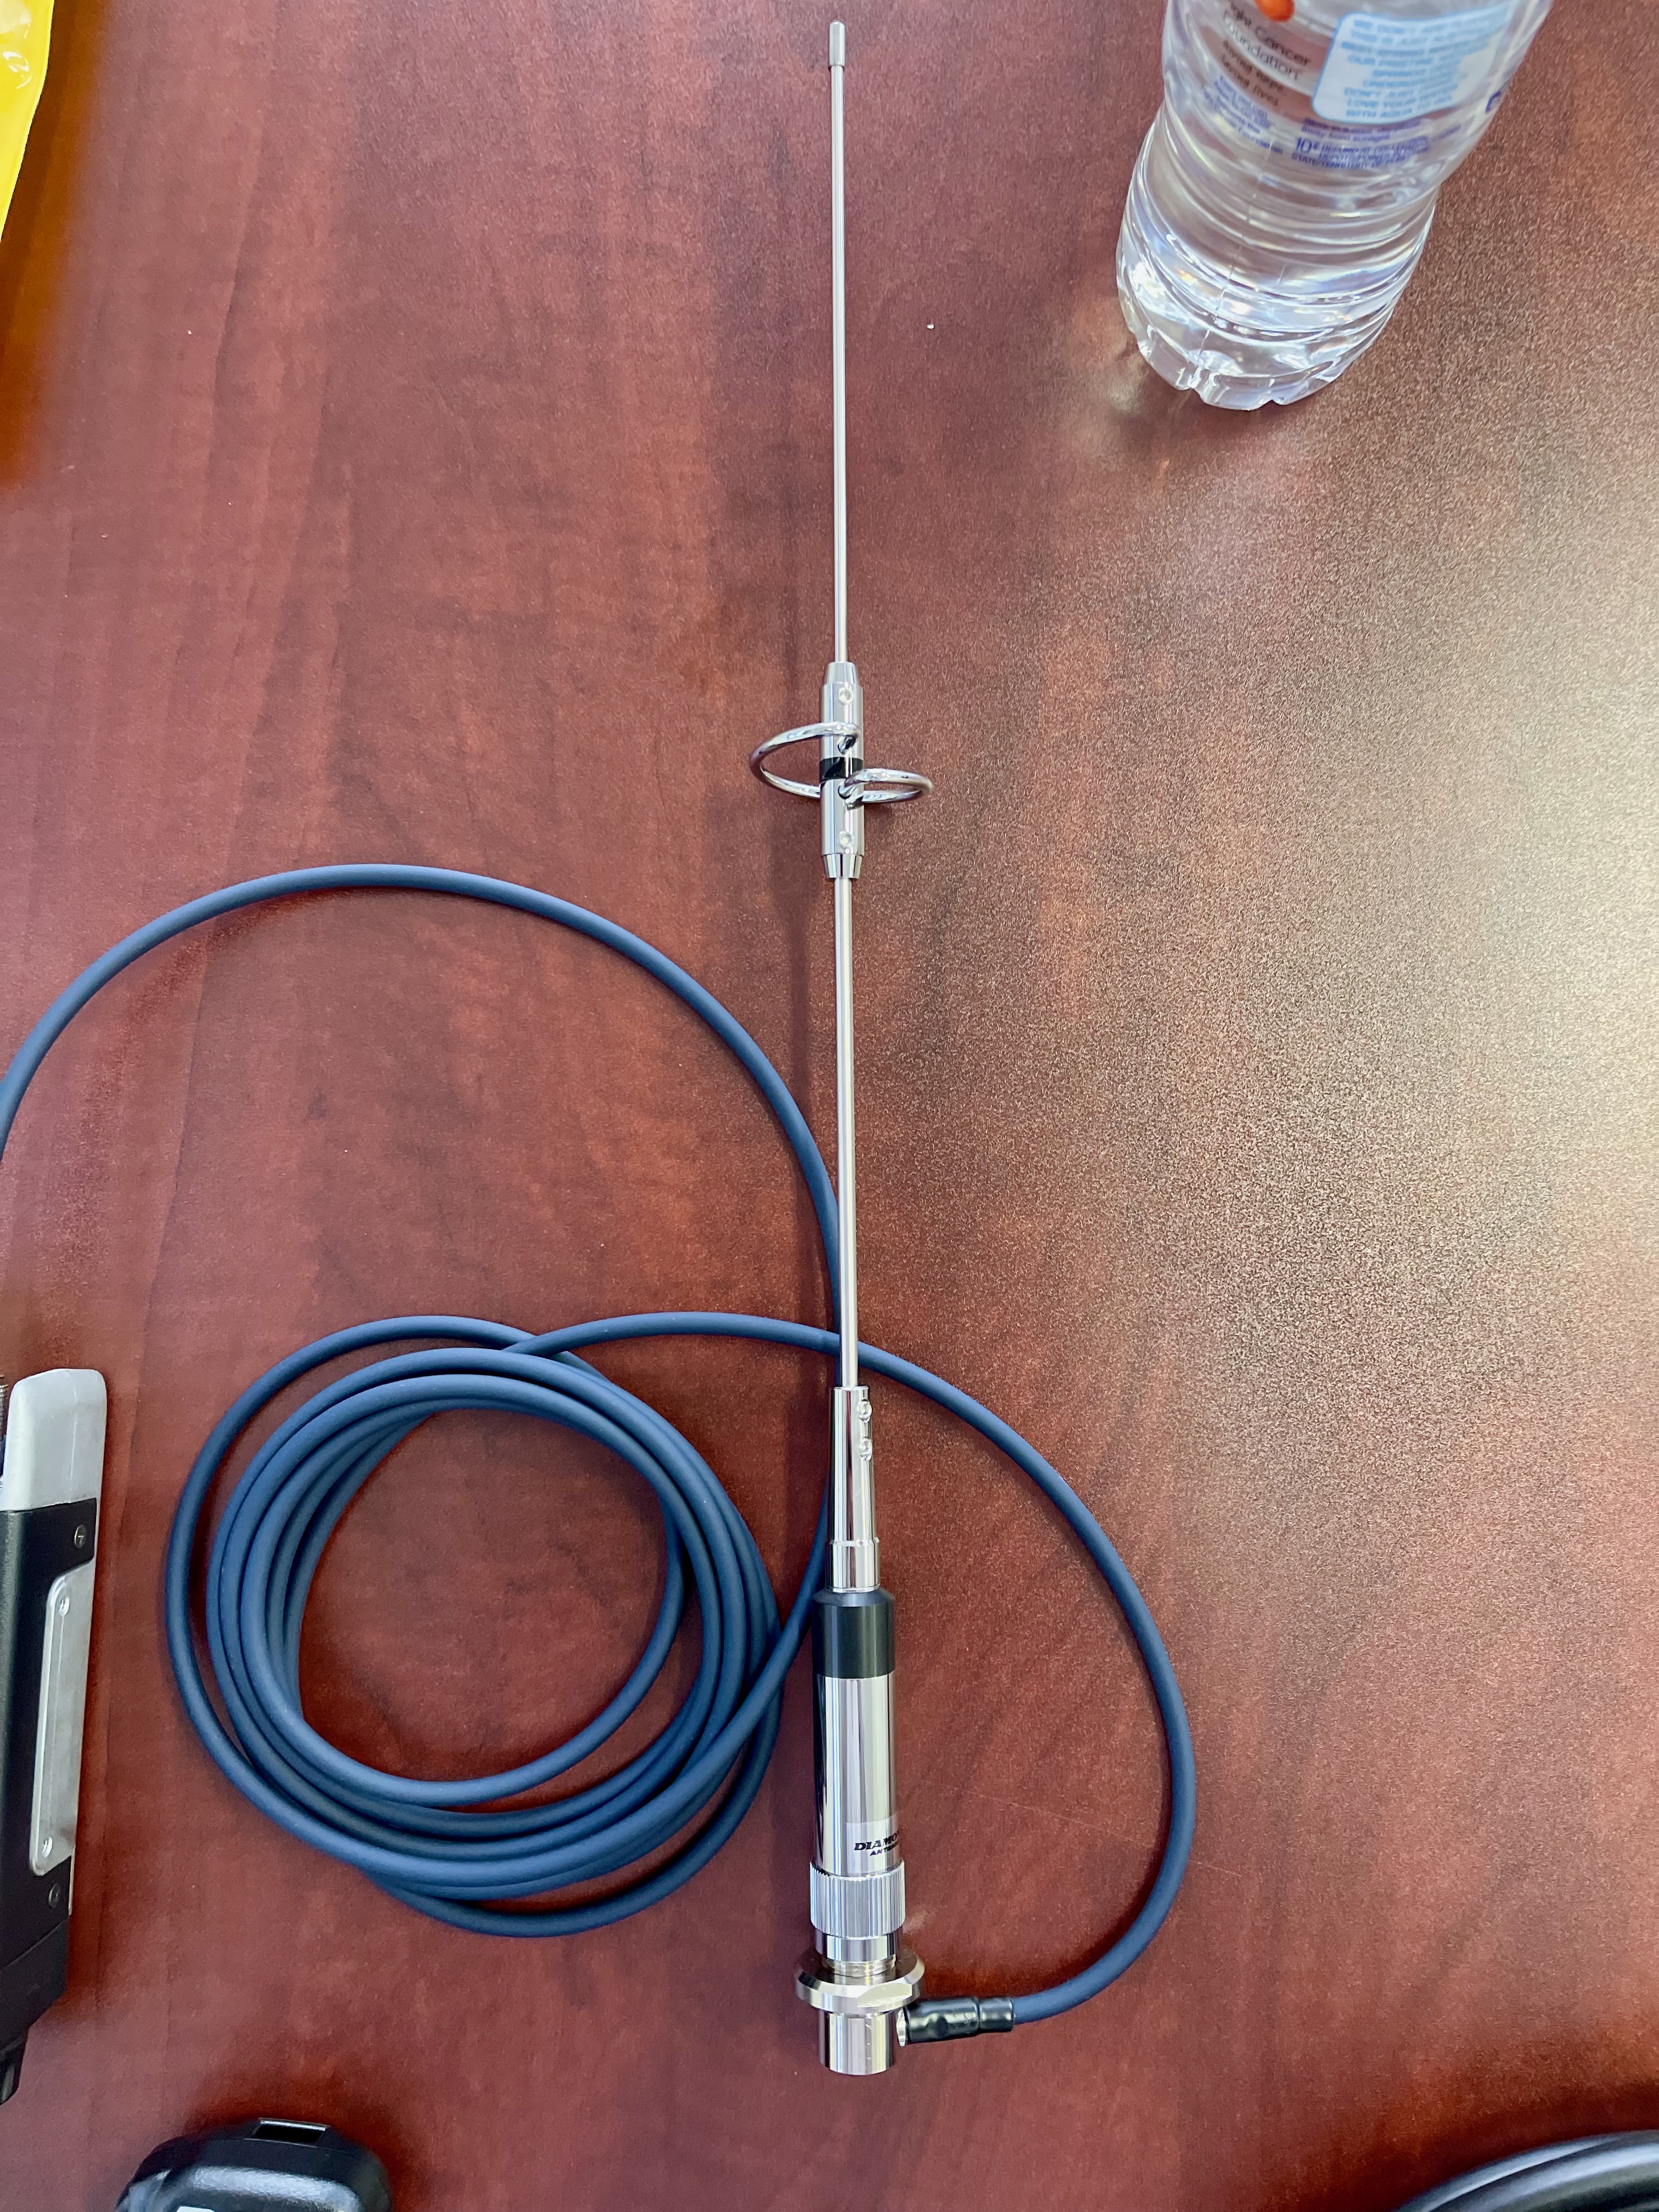 The first part was to test out using the Diamond CR-77 Mobile Antenna. Unfortunately, from inside my house, I wasn’t able to get clear reception on this. I had tuned into the local net, but could only hear very broken voices. I am pretty sure this will be quite good when outdoors. This will be the setup when outdoors.
Fitting the roof antenna
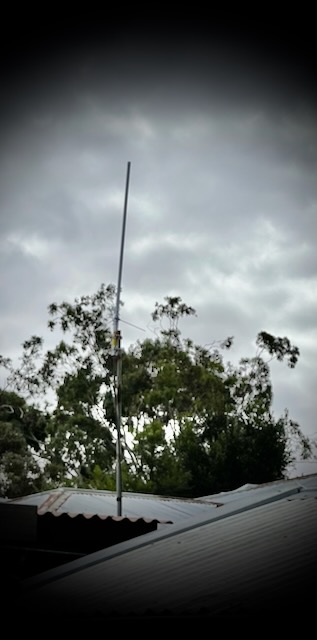
Now the fun part starts, fitting the antenna to the roof. Unfortunately when I got up on the roof and fit the antenna, I had forgotten my camera. So I only have the end result there. This is fitten on a standard TV mount that’s bolted to the bottom of a roof beam and a drilled hole through the roof for it to poke; then sealed.
The PL-259 Connector
This was the connector supplied. It was rather straight forward in construction and once pulled apart, easy to see how it goes together.

Connecting the connectors to the coax

- Put the nut and washer / spacer on the cable before removing the insulation and spreading the shielding.
- Strip back enough coax so that you have a healthy amount of shield to connect to the casing of the connector, and copper to feed through the connector.
- Put the compressing grommet over the copper, so it sits flush on a small remainder of rubber protector and pushes the shielding down.
- Feed the coax through the connector so the copper comes out the end. Feed through as far as it goes so that there is no exposed shielding at the base of the connector. Tighten the nut into the connector.
- Trim any remaining copper out of the connector.
- Solder connector to ensure good connectivity. Try to make sure the solder runs down into the connector for a solid connection
Once the cable is created, a quick test with a multimeter for continuinty shows a successful cable has been made!
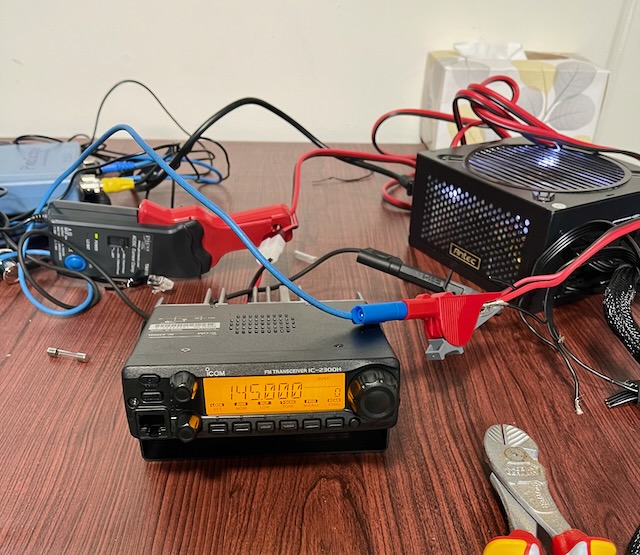
Power supply
For a power supply, I used a 600w computer PSU and used a PCIE cable to connect to one of the 12v+ lanes. These are rated at 30w each so should be quite sufficient. Measuring with the mulitmeter and scope, these were never overloaded.
We have communication!
The radio is working well. I have run it a few times through scanning and it has picked up some talk quite clearly. Now to learn how to actually use the radio and make contacts!